Introduction
The open-faced tuna melt sandwich is a classic comfort food that combines savory tuna salad, melted cheese, and toasted bread. It’s simple, versatile, and quick to prepare, making it a favorite for busy weeknights or casual lunches. If you’re looking to explore other sandwich options, try this Grilled Chicken Sandwich with A1 Sauce Recipe for a tangy, satisfying alternative. This guide will walk you through everything you need to know to make the perfect open-faced tuna melt, from ingredient choices to creative variations.
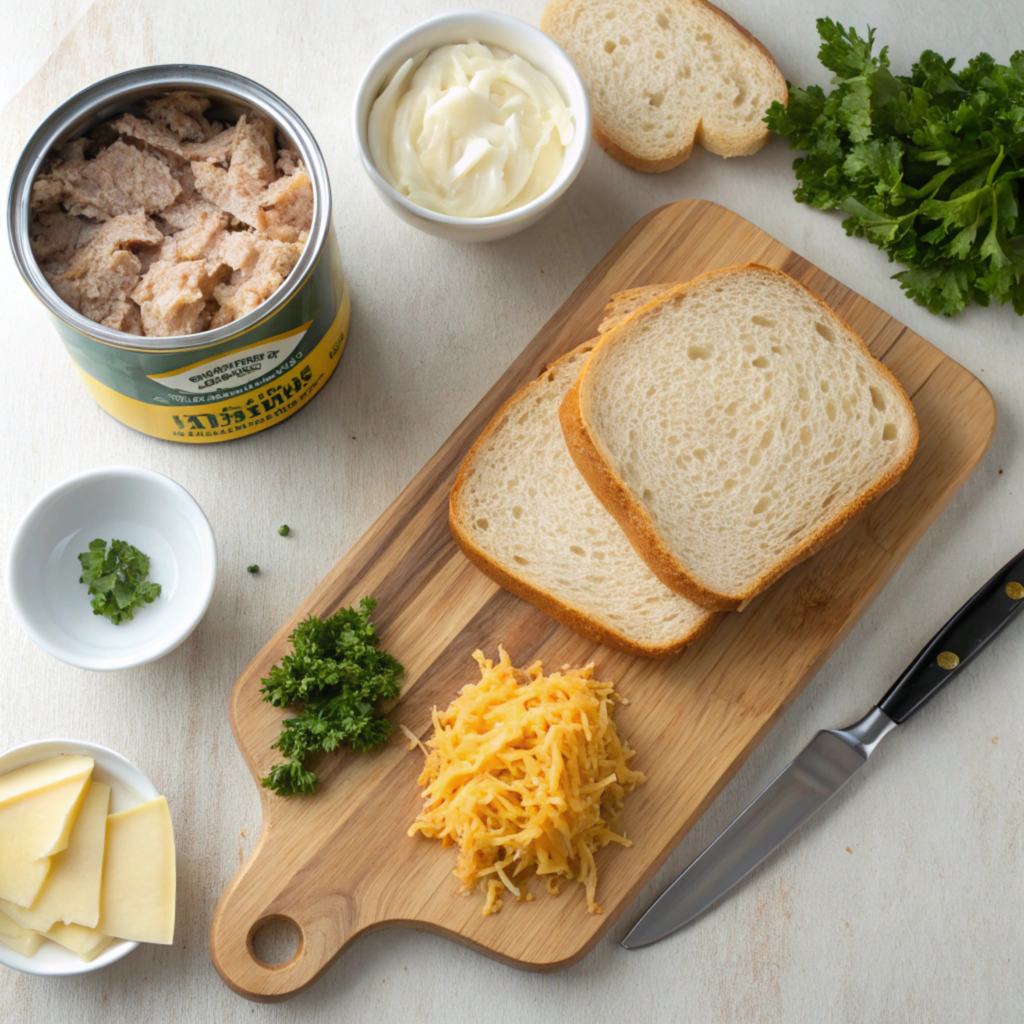
Ingredients for the Perfect Open-Faced Tuna Melt Sandwich
To craft a delicious open-faced tuna melt, a few key ingredients are essential: canned tuna, sturdy bread, cheese, and seasonings. For an extra touch of freshness, consider adding sliced tomatoes or a handful of greens like arugula. Want to elevate your sandwich game further? Check out our Salmon Grilled Cheese, another delectable seafood-based sandwich option that offers a unique twist.

Core Ingredients
1. Tuna: Opt for canned tuna in water or oil. Chunk light or albacore tuna works well, depending on your preference for texture and flavor. If you’re unsure about the differences, this guide on tuna varieties can help you decide.
2. Bread: Choose sturdy bread that can hold the toppings without becoming soggy. Sourdough, rye, or whole-grain bread are great options.
3. Cheese: Cheddar, Swiss, or mozzarella are classic choices for the melt, but any cheese that melts well will work.
4. Mayonnaise: A creamy binder for the tuna salad. You can substitute it with Greek yogurt for a healthier twist.
5. Seasonings: Salt, pepper, and optional spices like paprika, garlic powder, or onion powder to enhance the flavor.
Optional Ingredients for Added Flavor
1. Vegetables: Diced celery, red onion, or pickles add crunch and tang.
2. Herbs: Fresh parsley, dill, or chives provide a burst of freshness.
3. Mustard: Dijon or spicy mustard can give the tuna salad a slight kick.
4. Tomatoes: Freshly sliced tomatoes can be layered beneath the cheese for added juiciness.
5. Hot Sauce: A drizzle of hot sauce can add a spicy dimension to your sandwich.
Choosing the Right Tools
While the ingredients are key, having the right tools ensures a seamless preparation process. For example, a high-quality baking sheet is essential for achieving evenly toasted bread and melted cheese. Other tools like a mixing bowl or spatula are kitchen staples that make assembly a breeze.
1. Mixing Bowl: For combining the tuna salad.
2. Baking Sheet: For toasting the sandwich under the broiler or in the oven.
3. Spatula: To spread the tuna mixture evenly on the bread.
4. Cheese Grater: If you’re using a block of cheese, freshly grated cheese melts better.
Step-by-Step Preparation of an Open-Faced Tuna Melt Sandwich

Creating the perfect open-faced tuna melt sandwich is easy with these step-by-step instructions. Follow along to achieve a deliciously melty and flavorful sandwich every time.
Step 1 – Prepare the Tuna Salad
Start by draining the canned tuna thoroughly. Transfer the tuna to a mixing bowl and use a fork to break it into small, flaky pieces. Add mayonnaise, salt, and pepper to taste. For added flavor, mix in diced celery, chopped red onions, or a teaspoon of Dijon mustard. If you enjoy a bit of spice, a dash of paprika or a squeeze of lemon juice can elevate the taste. Stir all the ingredients until evenly combined.
Step 2 – Prepare the Bread
Choose slices of bread that are about half an inch thick to hold the toppings securely. Place the bread slices on a baking sheet. Lightly toast them in the oven or toaster to prevent them from becoming soggy once the tuna salad is added.
Step 3 – Assemble the Sandwich
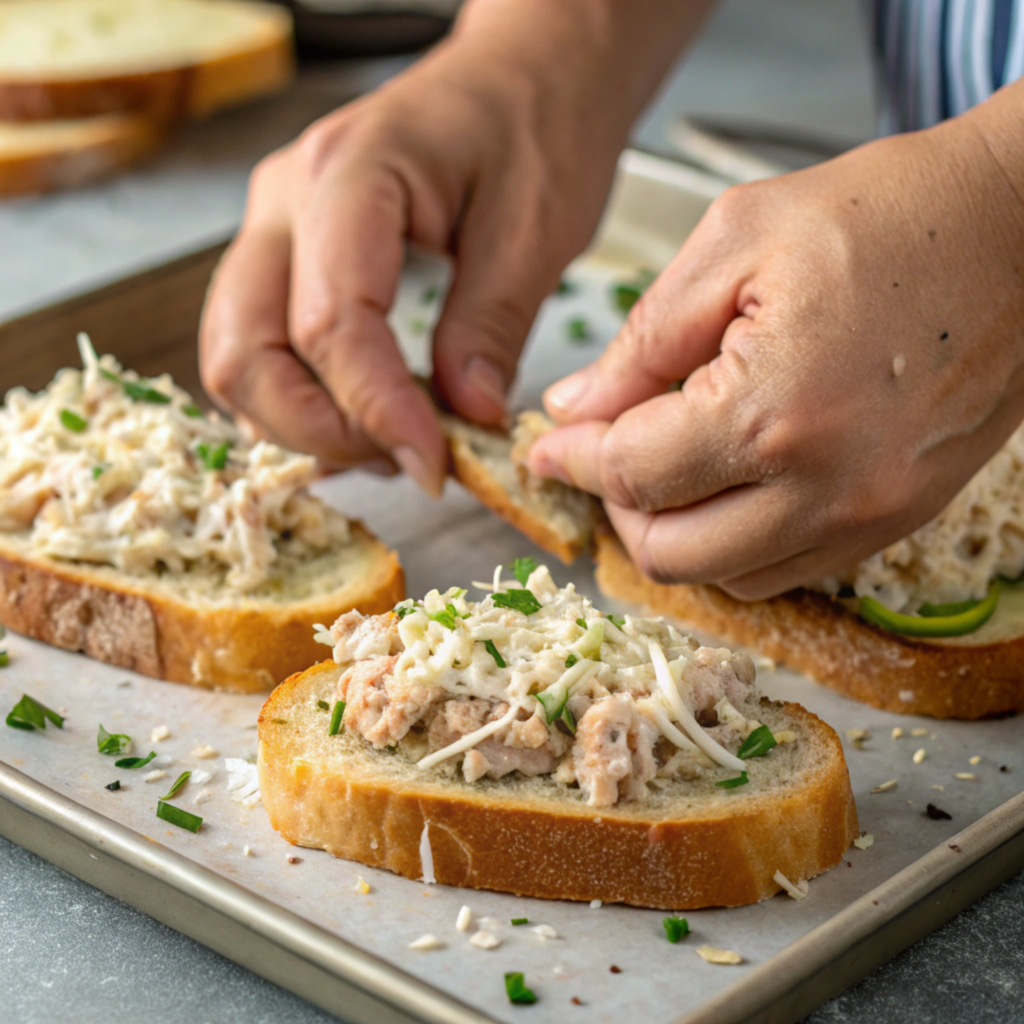
Spread a generous layer of the prepared tuna salad onto each slice of toasted bread. Ensure the layer is even and covers the surface completely. If you’re adding tomato slices, place them on top of the tuna mixture before adding the cheese.
Step 4 – Add the Cheese
Grate your choice of cheese or use pre-sliced cheese for convenience. Place enough cheese to fully cover the tuna mixture. Overlapping slices slightly ensures every bite is cheesy and flavorful.
Step 5 – Broil the Sandwich
Preheat your oven’s broiler to medium-high. Place the baking sheet with the assembled sandwiches on the middle rack of the oven. Broil for 3-5 minutes or until the cheese is melted and bubbly, and the edges of the bread are golden brown. Keep an eye on it to avoid over-browning.
Step 6 – Serve and Enjoy
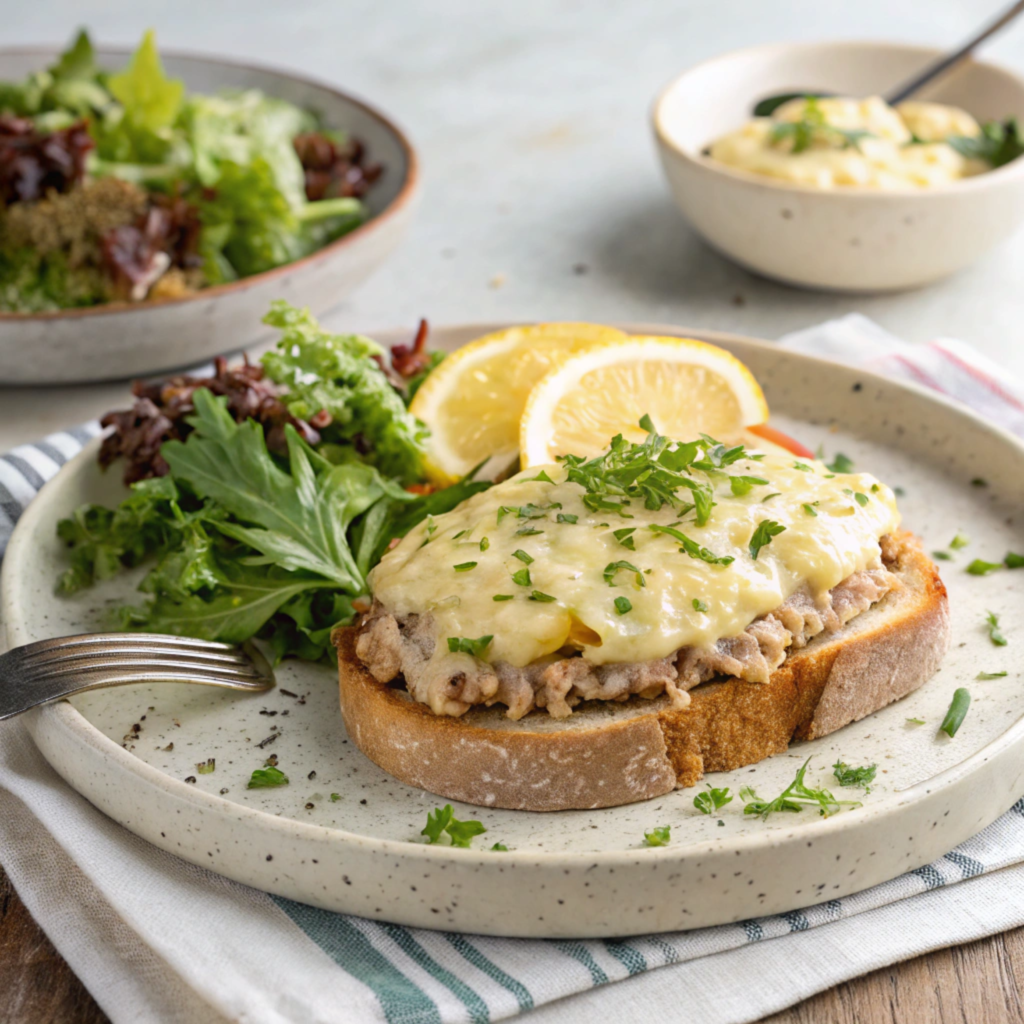
Remove the sandwiches from the oven carefully using oven mitts. Let them cool for a minute before transferring them to a serving plate. Garnish with fresh herbs or a sprinkle of cracked black pepper, if desired. Serve immediately while the cheese is still warm and gooey.
Variations and Tips for Customizing Your Open-Faced Tuna Melt
One of the best things about an open-faced tuna melt is its versatility. For a gourmet twist, try adding sun-dried tomatoes or caramelized onions to your tuna mixture. Fancy experimenting with cheese? Swap out the usual cheddar or mozzarella for a luxurious Brie or Gruyere. If you enjoy this level of culinary creativity, you might also like the flavor profiles in our Grilled Chicken Sandwich with A1 Sauce.
Healthier Variations

1. Light Tuna Melt: Replace mayonnaise with Greek yogurt or mashed avocado for a lighter, nutrient-rich option. Use whole-grain or gluten-free bread for added fiber or dietary needs.
2. Low-Calorie Cheese Options: Opt for reduced-fat cheese or a sprinkle of nutritional yeast to mimic cheesy flavor with fewer calories.
3. Vegetable Boost: Add a layer of fresh spinach, arugula, or thinly sliced cucumber for a dose of greens.
Gourmet Additions
1. Fancy Cheeses: Experiment with Gruyere, Brie, or Gouda for a more luxurious flavor profile.
2. Herb-Infused Butter: Before toasting the bread, brush it with a mixture of melted butter and herbs like rosemary or thyme for added aroma.
3. Caramelized Onions: Swap out raw onions for sweet, caramelized onions to add depth and a touch of sweetness.
4. Sun-Dried Tomatoes: Chop a few sun-dried tomatoes and mix them into the tuna salad for a tangy kick.
Protein-Packed Upgrades
1. Hard-Boiled Eggs: Dice hard-boiled eggs and mix them into the tuna salad for extra protein and texture.
2. Bacon Crumbles: Sprinkle cooked, crispy bacon bits on top of the cheese for added crunch and smoky flavor.
3. Smoked Tuna: Replace canned tuna with smoked tuna for a sophisticated, rich taste.
Tips for Perfect Results
1. Balancing Moisture: Too much mayonnaise or wet ingredients can make the bread soggy. If you’re looking for tips to fix common tuna salad issues, this article is a must-read.2. Cheese Melting: For a perfectly melted and golden topping, bring the cheese to room temperature before adding it to the sandwich. This ensures even melting.
3. Toast Timing: Always lightly toast the bread before assembling the sandwich to maintain its structure under the toppings.
4. Watch the Broiler: Broilers can vary in intensity. Keep a close eye on your sandwich as it broils to prevent burning.
FAQs
Can I make a tuna melt without an oven?
Absolutely! If you don’t have an oven, you can prepare a tuna melt using a stovetop or toaster oven. Assemble the sandwich as usual and place it in a preheated skillet over medium heat. Cover the skillet with a lid to trap heat, which helps melt the cheese. Cook until the cheese is bubbly and the bread is toasted to your liking.
What type of tuna works best for a tuna melt?
Canned tuna in water or oil works well for a tuna melt. Chunk light tuna is softer and blends well with mayonnaise, while albacore tuna offers a firmer texture and milder flavor. Choose according to your personal preference. If available, high-quality jarred tuna can also elevate the dish.
What are some gluten-free options for this recipe?
For a gluten-free version, use gluten-free bread or substitute bread with large slices of roasted sweet potato, portobello mushroom caps, or thick-cut zucchini slices. These alternatives provide a sturdy base while keeping the dish gluten-free.
Can I make the tuna salad ahead of time?
Yes, the tuna salad can be prepared up to 2 days in advance. Store it in an airtight container in the refrigerator. When ready to make your sandwich, simply assemble it with fresh bread and cheese, then toast or broil.
What cheeses melt the best for a tuna melt?
Cheddar, Swiss, mozzarella, and Monterey Jack are popular choices because they melt smoothly and complement the tuna flavor. For a bolder taste, consider using pepper jack or a combination of cheeses. Always opt for freshly grated cheese for the best melting results.
Can I freeze a tuna melt sandwich?
It’s not recommended to freeze a fully assembled tuna melt, as the texture of the bread and melted cheese may not hold up well after thawing. However, you can prepare and freeze the tuna salad in advance. When you’re ready to enjoy, thaw the tuna salad, assemble the sandwich with fresh bread and cheese, and toast it freshly.
Conclusion
The open-faced tuna melt sandwich is a timeless classic that combines rich flavors, gooey cheese, and satisfying textures. Its simplicity makes it a go-to option for busy days, while its versatility allows you to experiment with ingredients and flavors to suit your preferences. Whether you’re crafting a healthier version, indulging in gourmet toppings, or sticking to the traditional recipe, this dish never fails to impress.
By following the step-by-step guide, tips, and customization options outlined here, you can create the perfect tuna melt tailored to your taste. Pair it with a side salad, a bowl of soup, or some crunchy chips to complete the meal. Enjoy the warmth, flavor, and nostalgia that this delicious dish brings to the table.

